

Does your dog LOVE to play? Are their toys everywhere? If you said “yes” to either of these questions then this project is for you! For less than $25 you can make your pet their very own personalized toy bin.
Meet Boris the German Shepard. Boris loves, loves, loves to play fetch. Boris’s top choice for playing fetch: the chuck-it ball. He carries one around with him at all times, even sleeps with one.
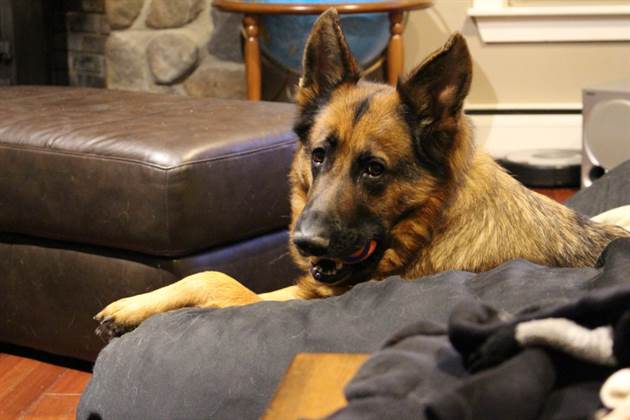
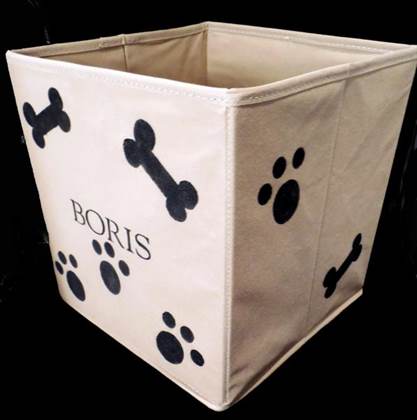
Since Boris’ parents know he loves the chuck-it ball, and they love Boris, as you can imagine, there are tons of chuck-it balls at Boris’ house. He has balls everywhere, and its becoming a problem. We decided to help out Boris (and his parents) by making him a toy bin, so he can keep all of his beloved toys in one place.
You can create a personalized toy bin for your furry friend too! It will take about 15 minutes and only $21.00!
First you want to check out our custom stencil design studio. This unique tool has tons of great features!
An assortment of popular fonts to choose from
-Shape, rotate, stylize text and graphics with precision controls
-Hundreds of clip art designs including paw prints, bones, animals etc.
-Template sizes 8 X 8 up to 48 X 72
-Create & save your designs
Once you create your design and place your order- we will cut and ship your custom stencil to you.
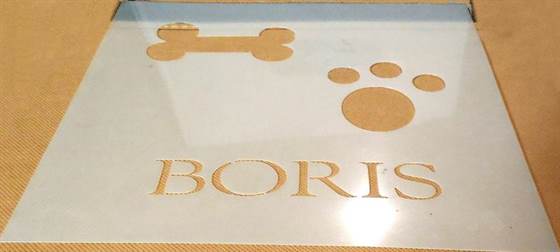
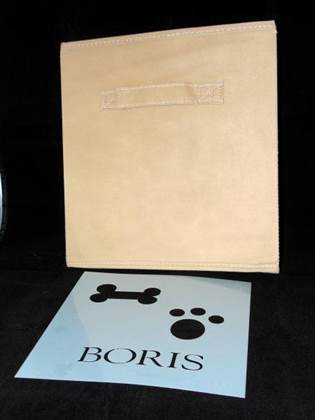
Here is the layout we designed:

HERE IS THE CUSTOM STENCIL
Stenciling is EASY! Follow the steps below for a perfectly stenciled project
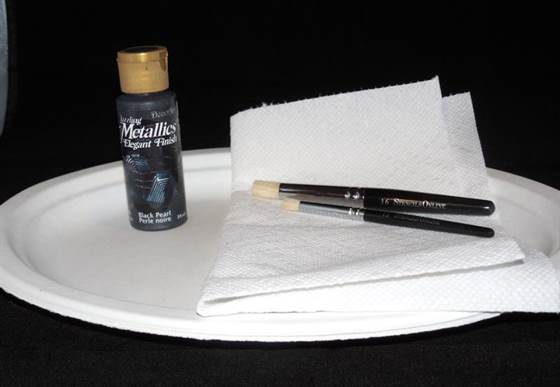
1.Gather your supplies!
TO GET: custom stencil (this design came out to $17.00) | fabric covered box ($4.00 at Big Lots)
ON HAND: stencil brush(s) | paint | paper towels | paper plate | painters tape
2. Prep your stenciling surface: use some painters tape or a lint brush to remove excess lint / dog hair etc.
3. Position your stencil & secure with painters’ tape (use painter tape to block off nearby areas that you don’t want to use)
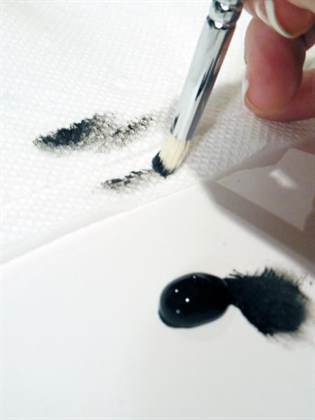
4. Add a dab of paint to paper plate- apply to brush- **wipe off excess paint on paper towel**
**ADVICE FROM THE EXPERTS **
Less paint is best! Stenciling is a dry painting technique. Using little paint this will prevent bleeding under the stencil. You can go back and add a second coat for desired coverage.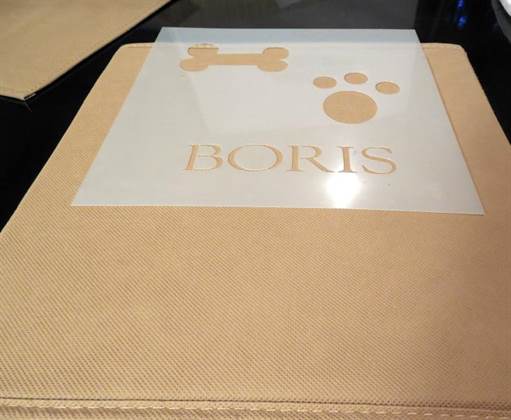
5. Using an up & down motion apply the paint. Reload your brush as needed, (remember to remove excess paint on paper towel)
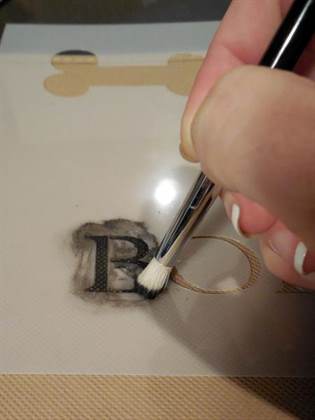
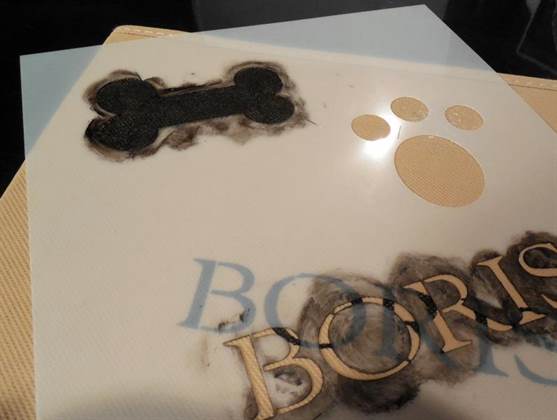 6. Once desired shade is achieved remove the stencil and reposition. Repeat steps 3-5.
Allow your project to dry undisturbed for 24 hours.
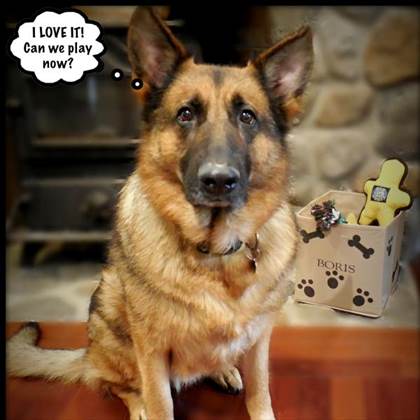
We would love to see your stenciled projects (and your pets) ! Send us a picture: [email protected]